Geologic Time Period Travel Brochures | Mini-Project
- April 25, 2020
- 3 minutes read - 435 words
Overview
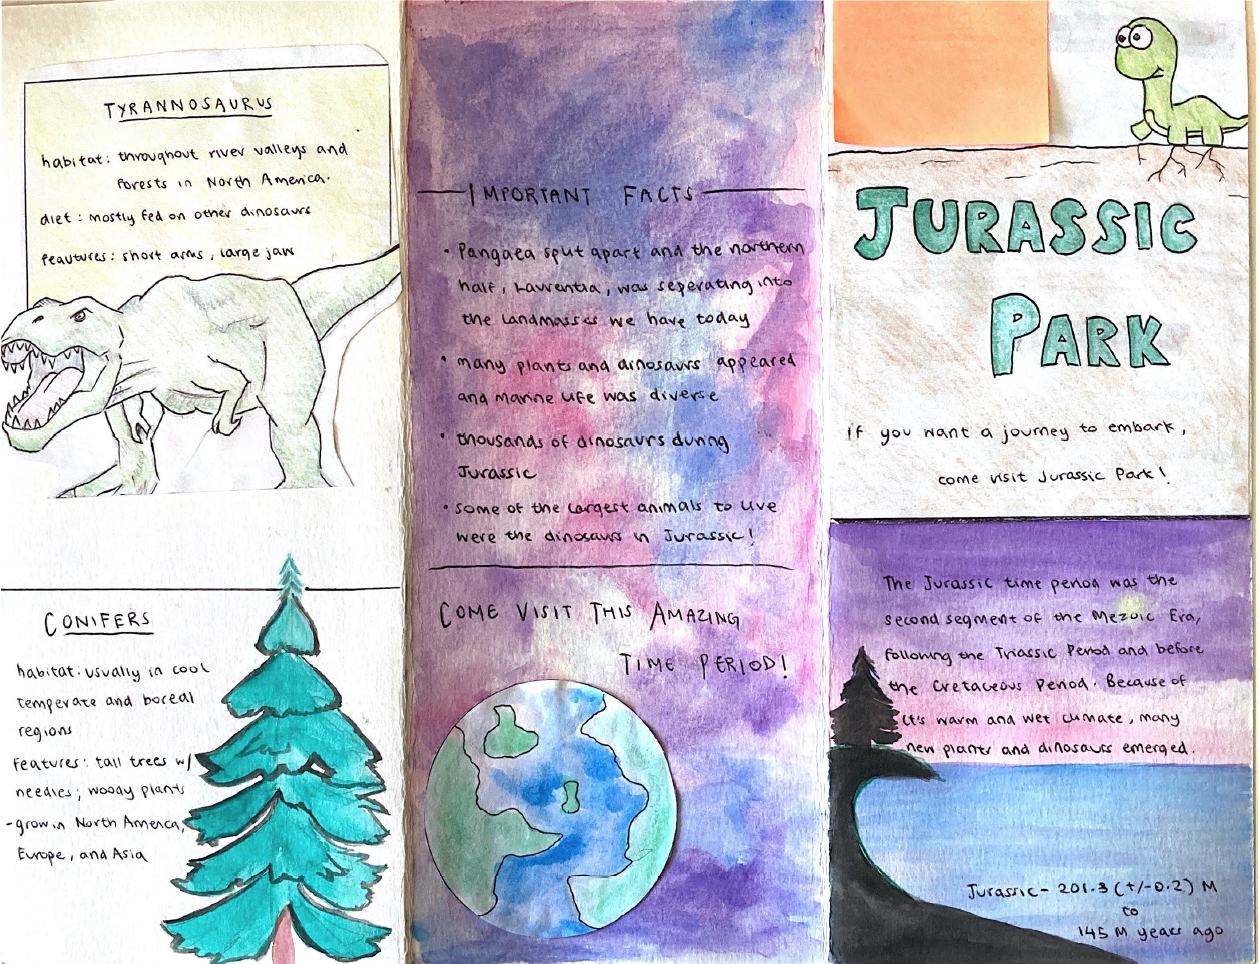
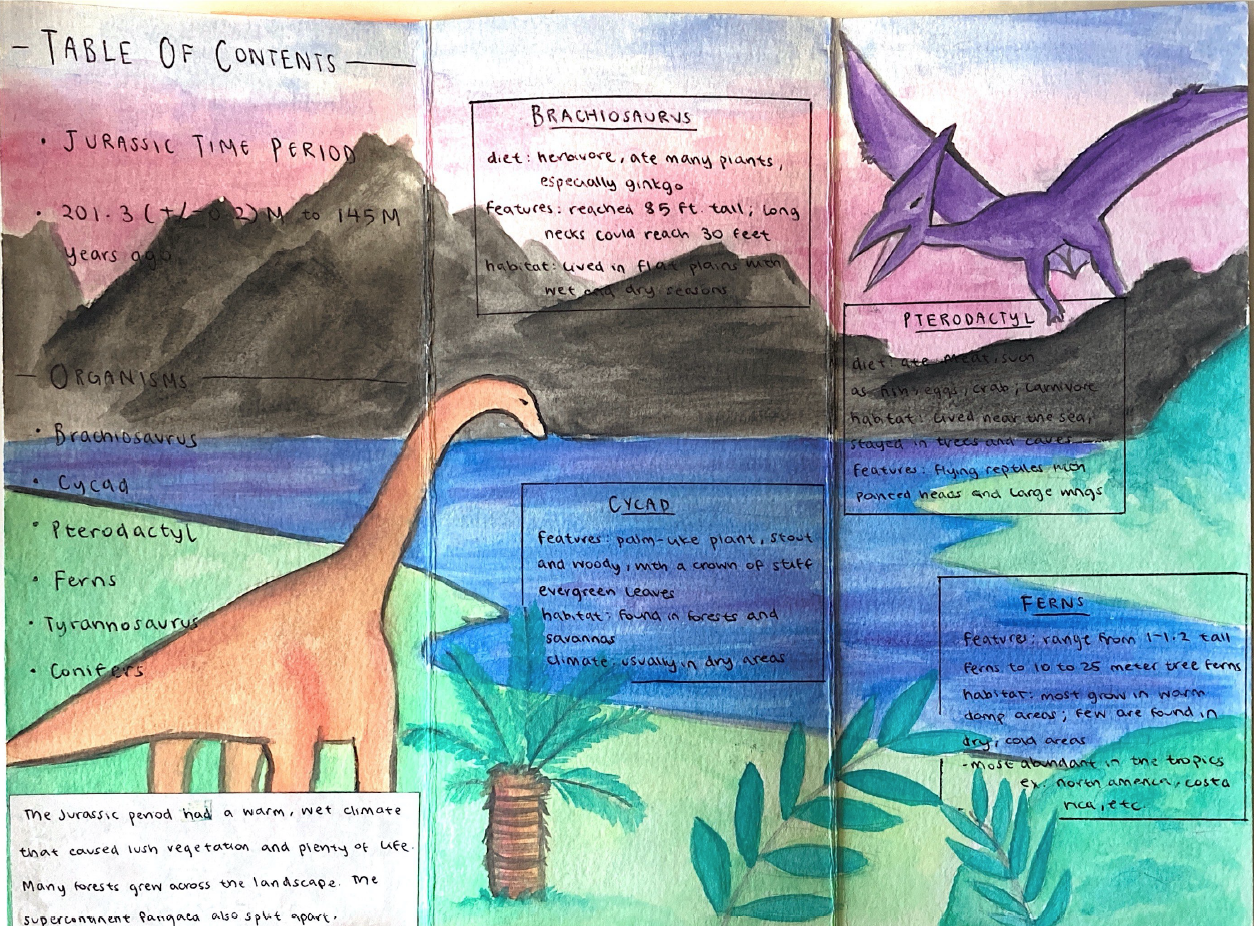
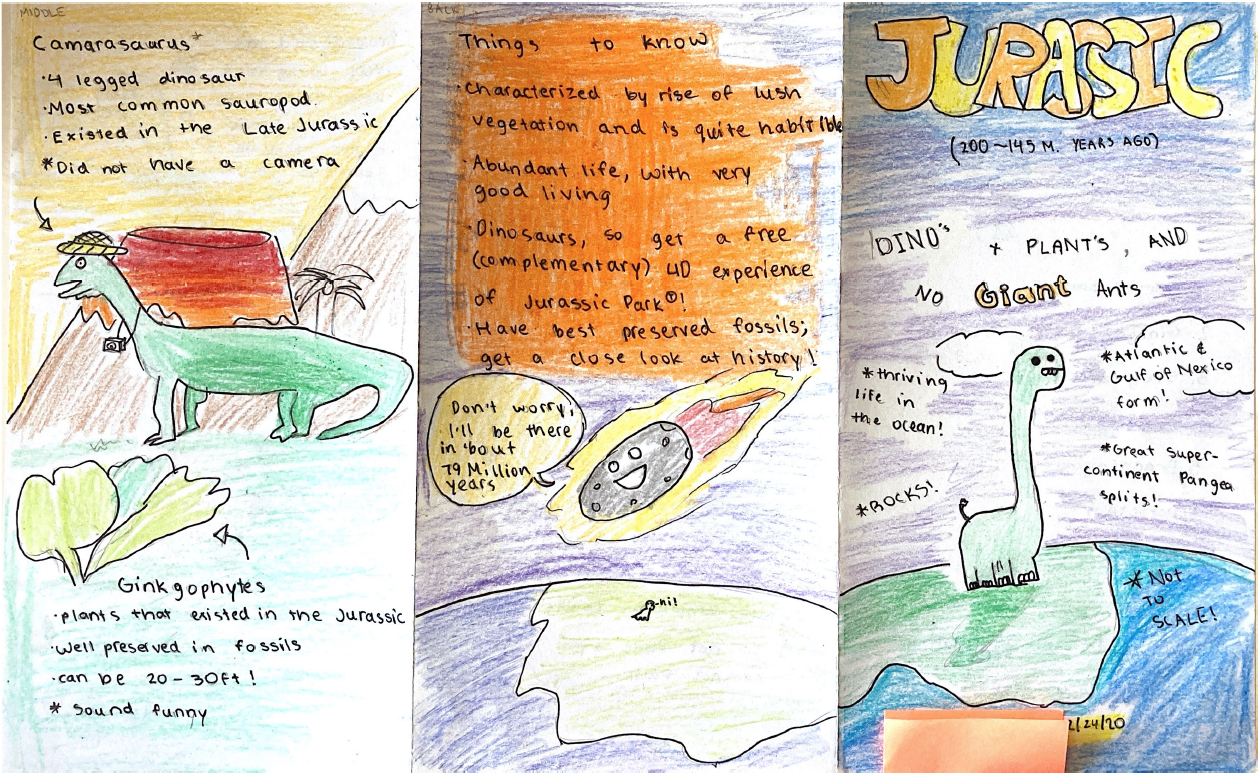
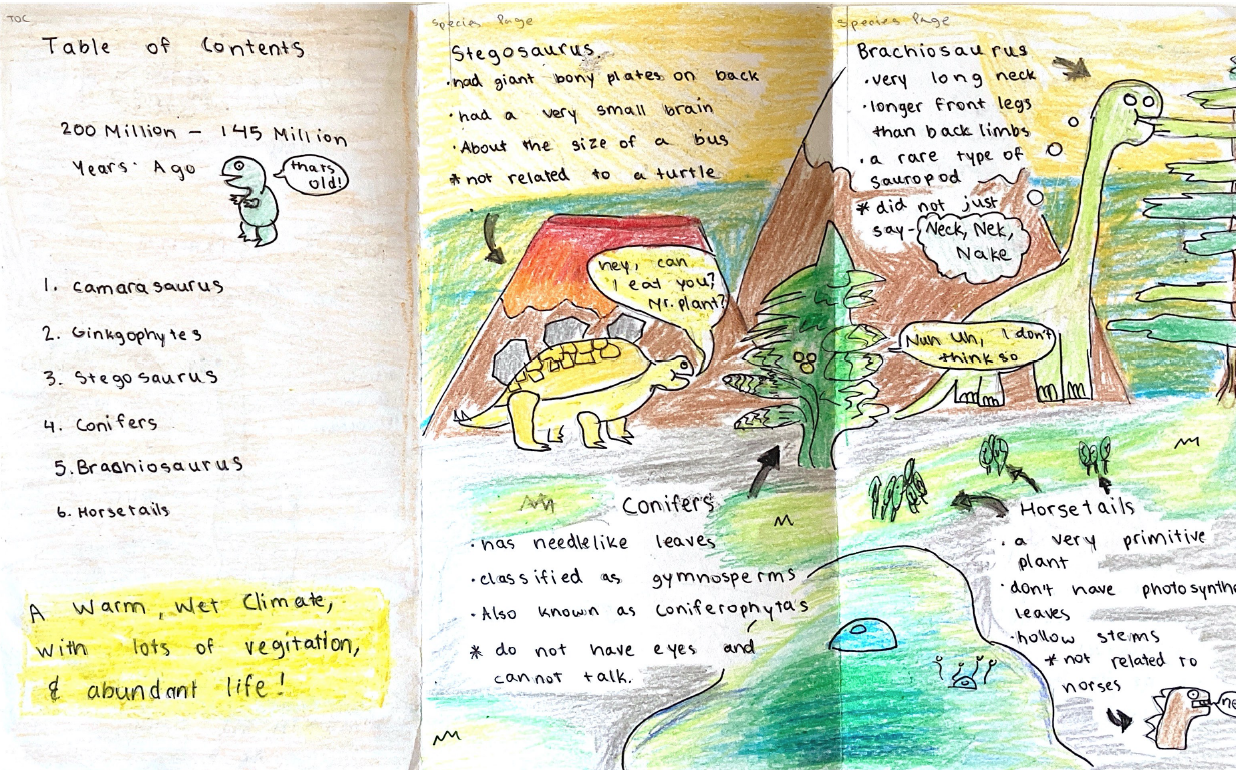
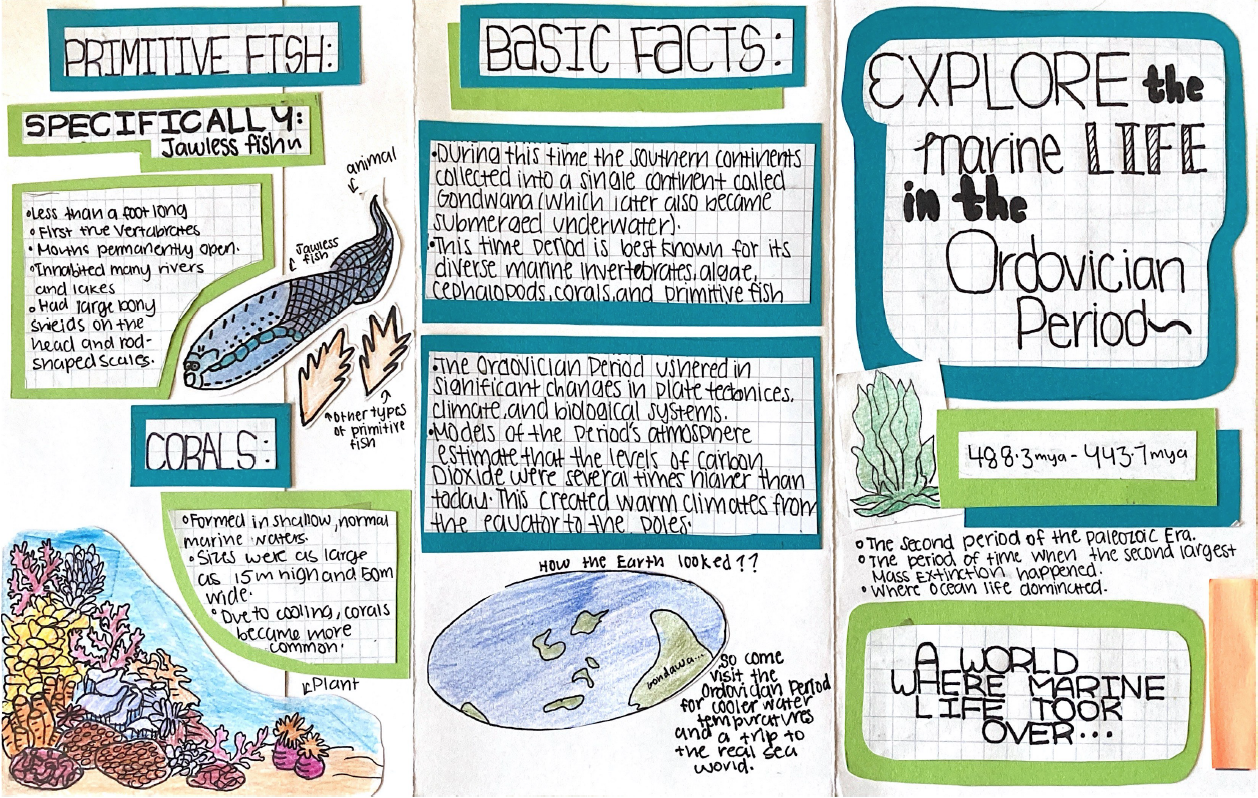
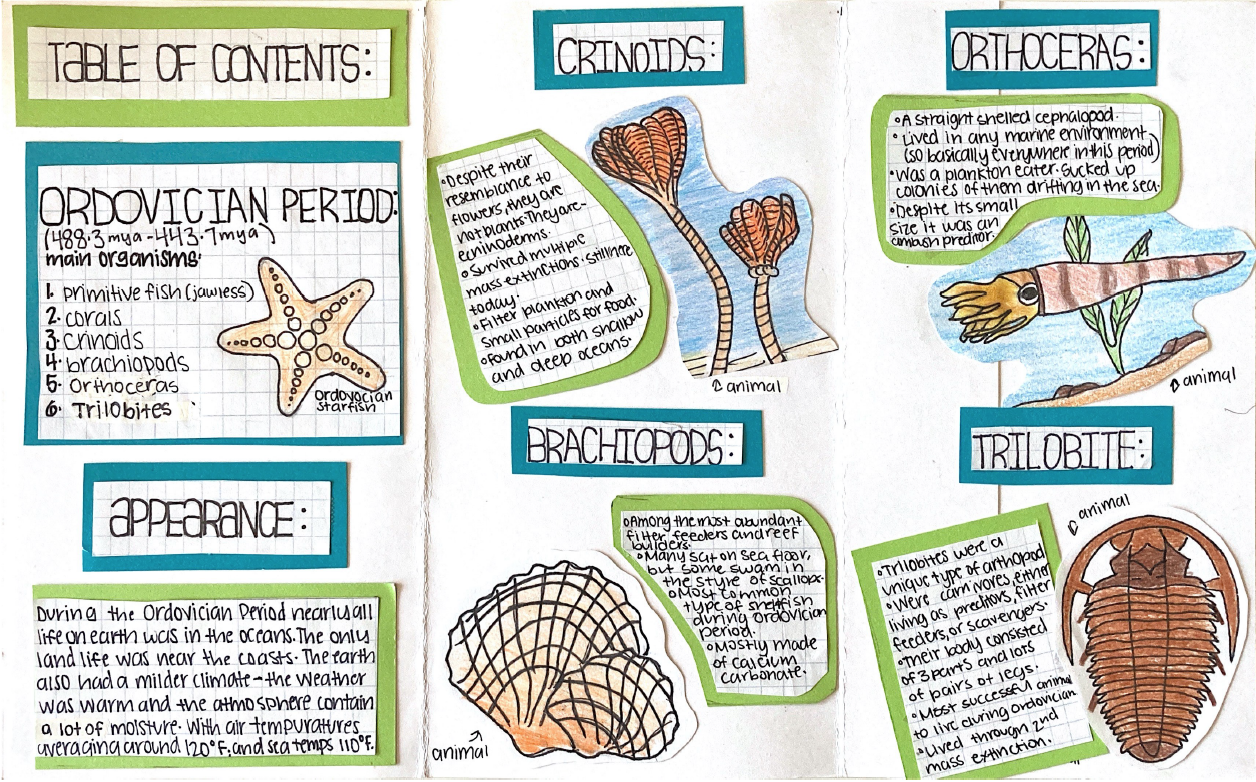
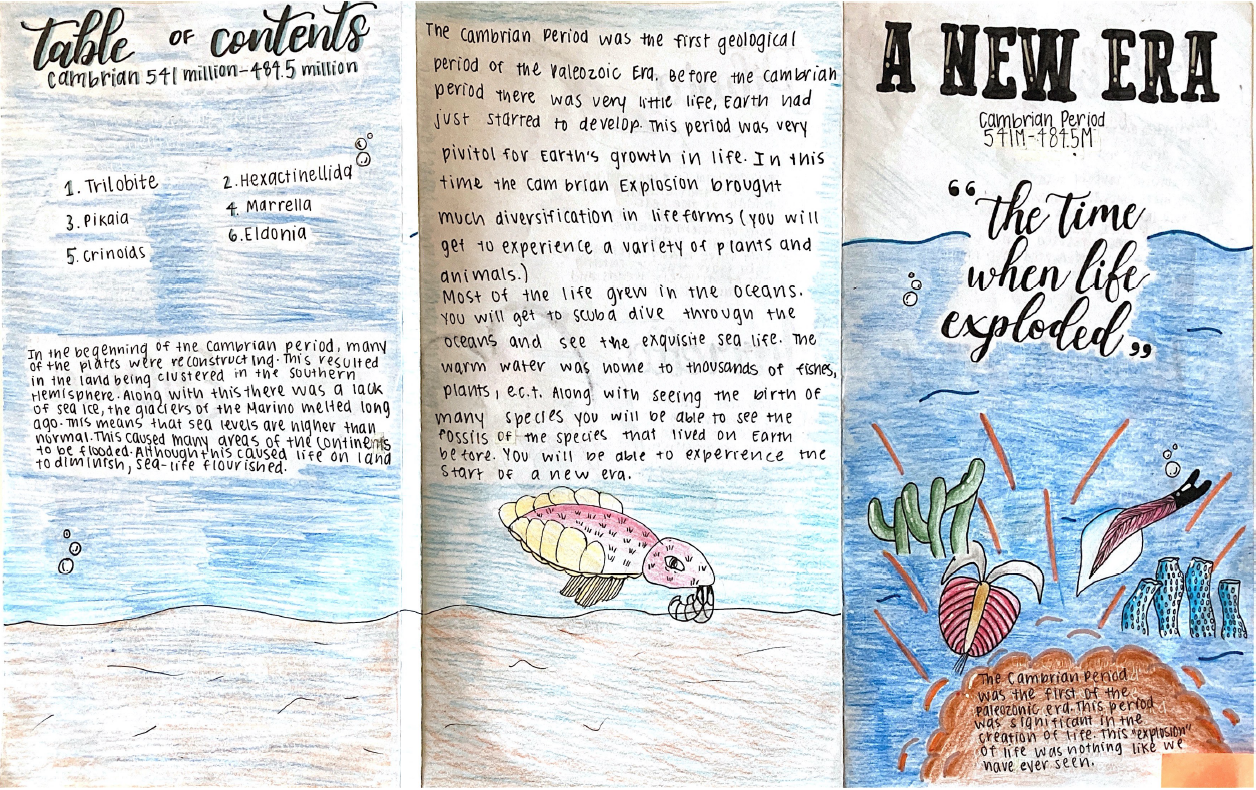
To help students understand Earth’s history, I used this short project to introduce students to major time periods and extinctions. The idea is that they research information on a particular time period, create a travel brochure, and share their project with their colleagues through a gallery walk.
Materials
Internet access, paper, color pencils, rulers.
Optional: textbook reading on geological time periods
Resources
Pacing
Suggested Pacing
Day 1 - Intro to project + grading rubric
Days 2 & 3 - Outline + research + design brochure
Day 4 - Finish brochure
Day 5 - Gallery walk
Pacing w/ Teacher Notes
Day 1 - I introduce the topic with warmup questions asking: 1) How old is Earth? 2) If Earth’s history was compressed into 24 hours, what time would humans arrive? To help students understand the questions, I compare Earth’s history to a party that goes on for 24 hours; then I’d ask when humans would arrive at this “party.” After listening to their guesses, I show them this video: The Evolution of Life on Earth .
After reviewing the questions, I ask the students to number themselves off 1-12; whatever number they get, they can write it down on their handout. This will determine which time period they will be researching.
As a class, we go over the directions and requirements of the project.
Day 2, 3 & 4 - For Days 2 and 3, they begin researching their time periods. I let my students work with whoever else had their same period, and I also make sure they can have access to the internet. If you have textbooks available, they can also do research there. I give them an example of how to write down what they need.
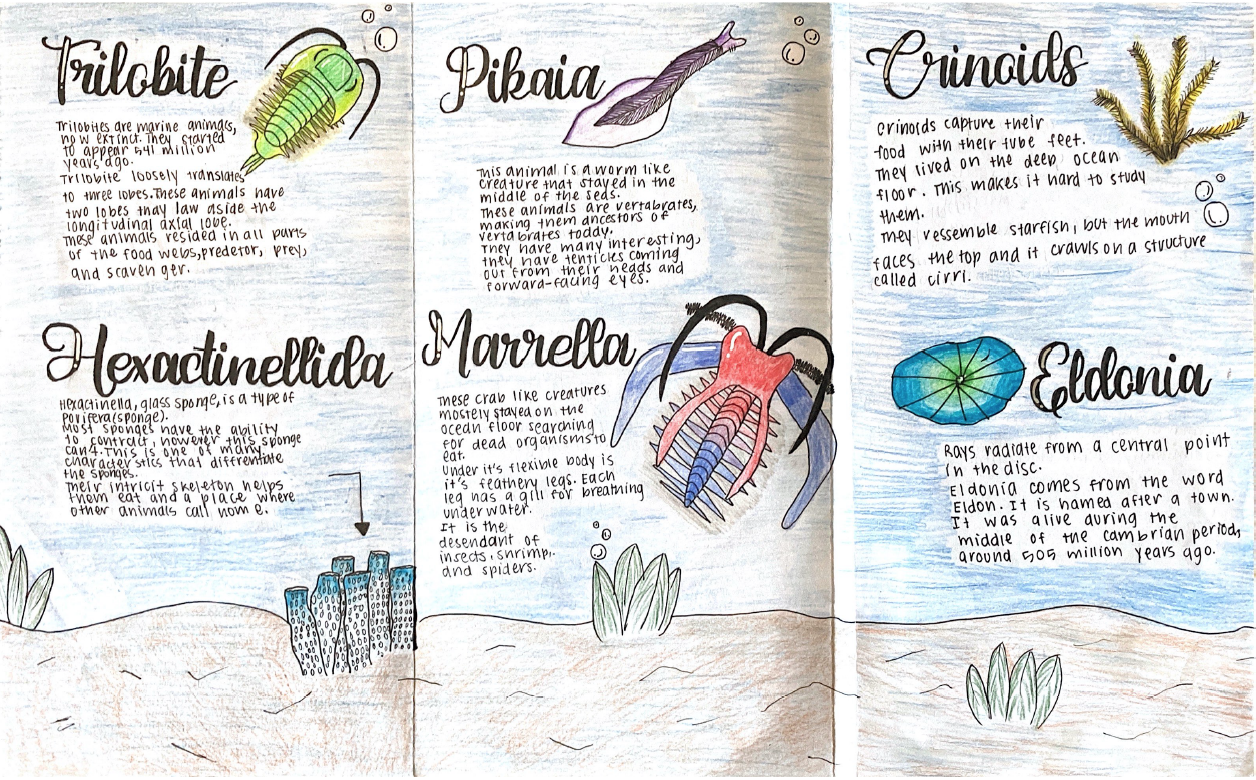
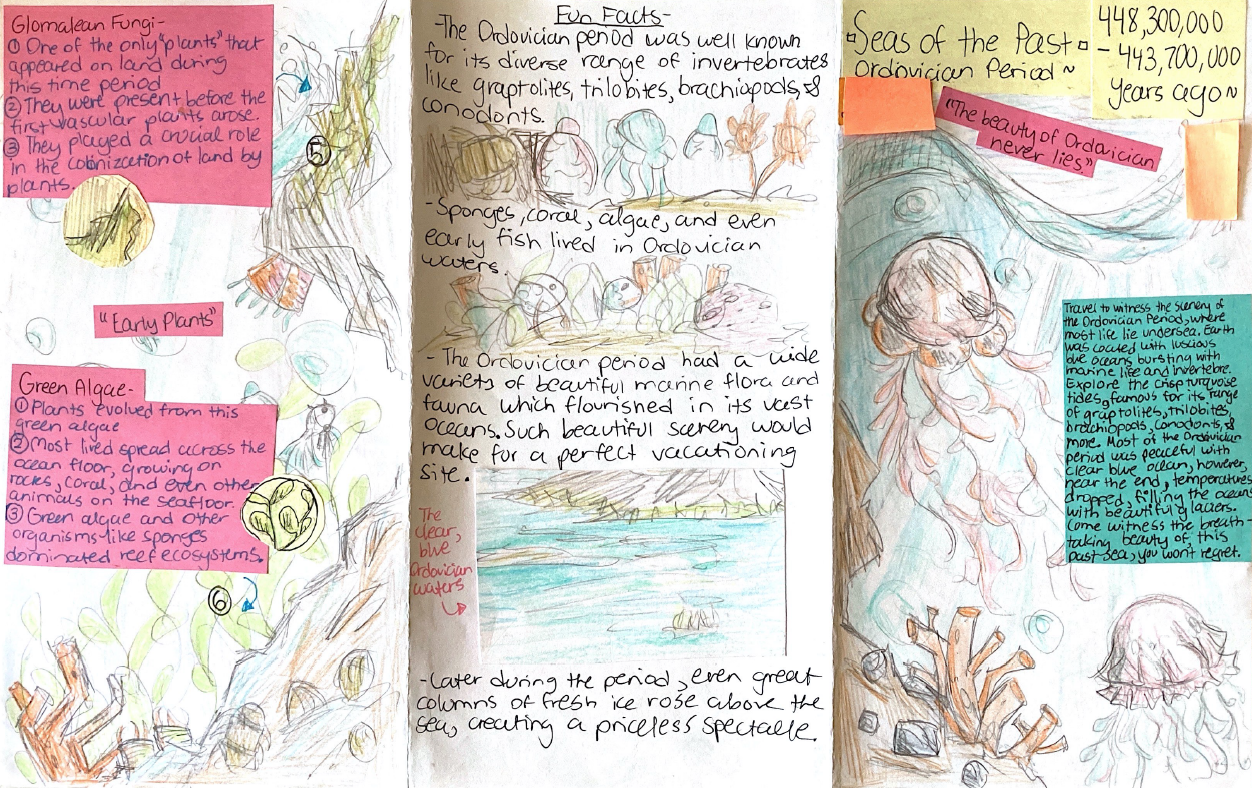
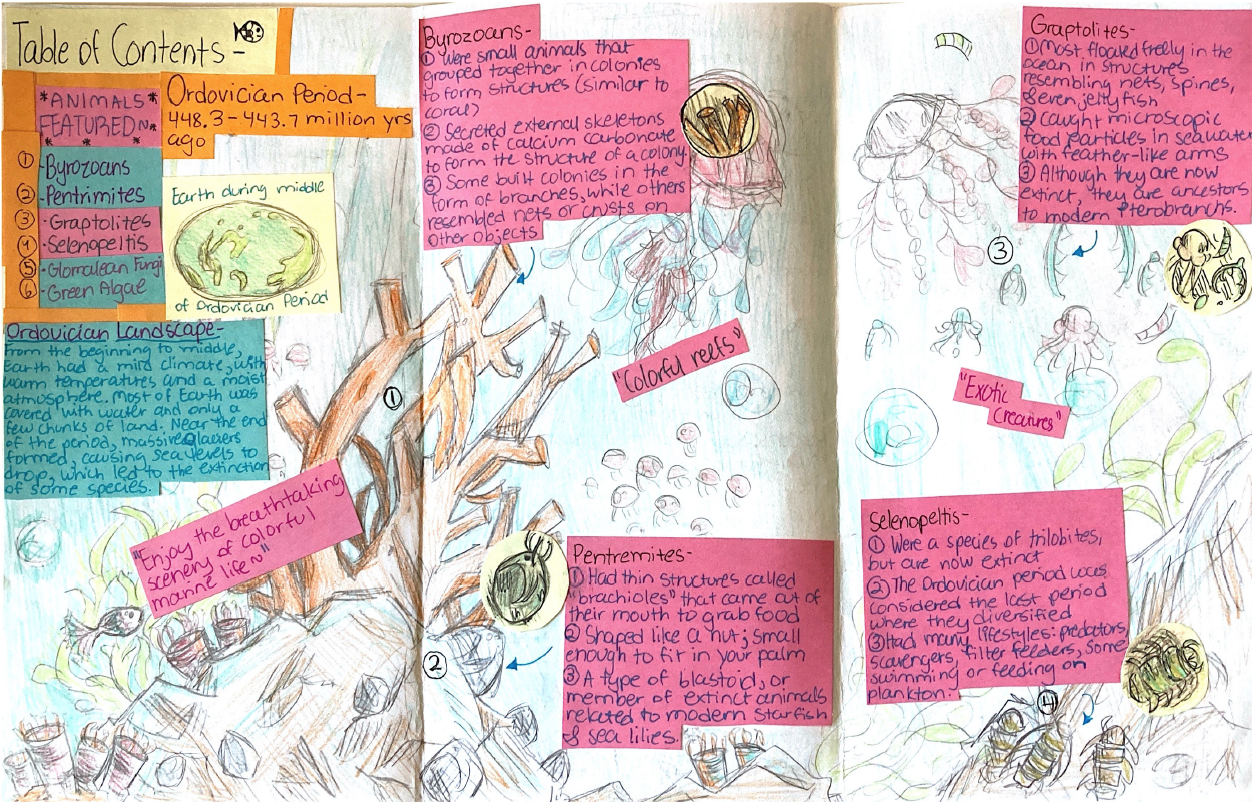
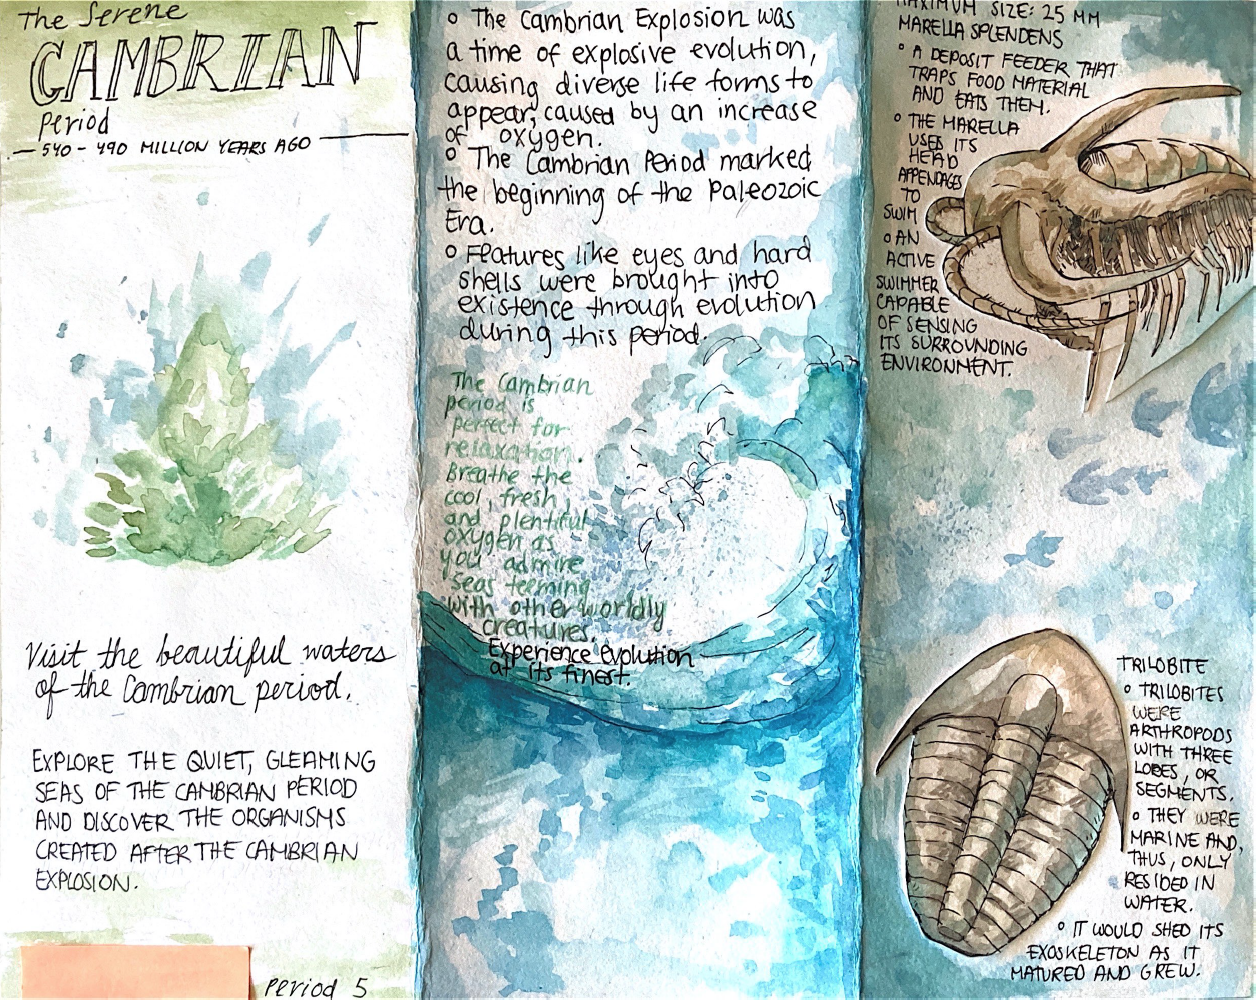
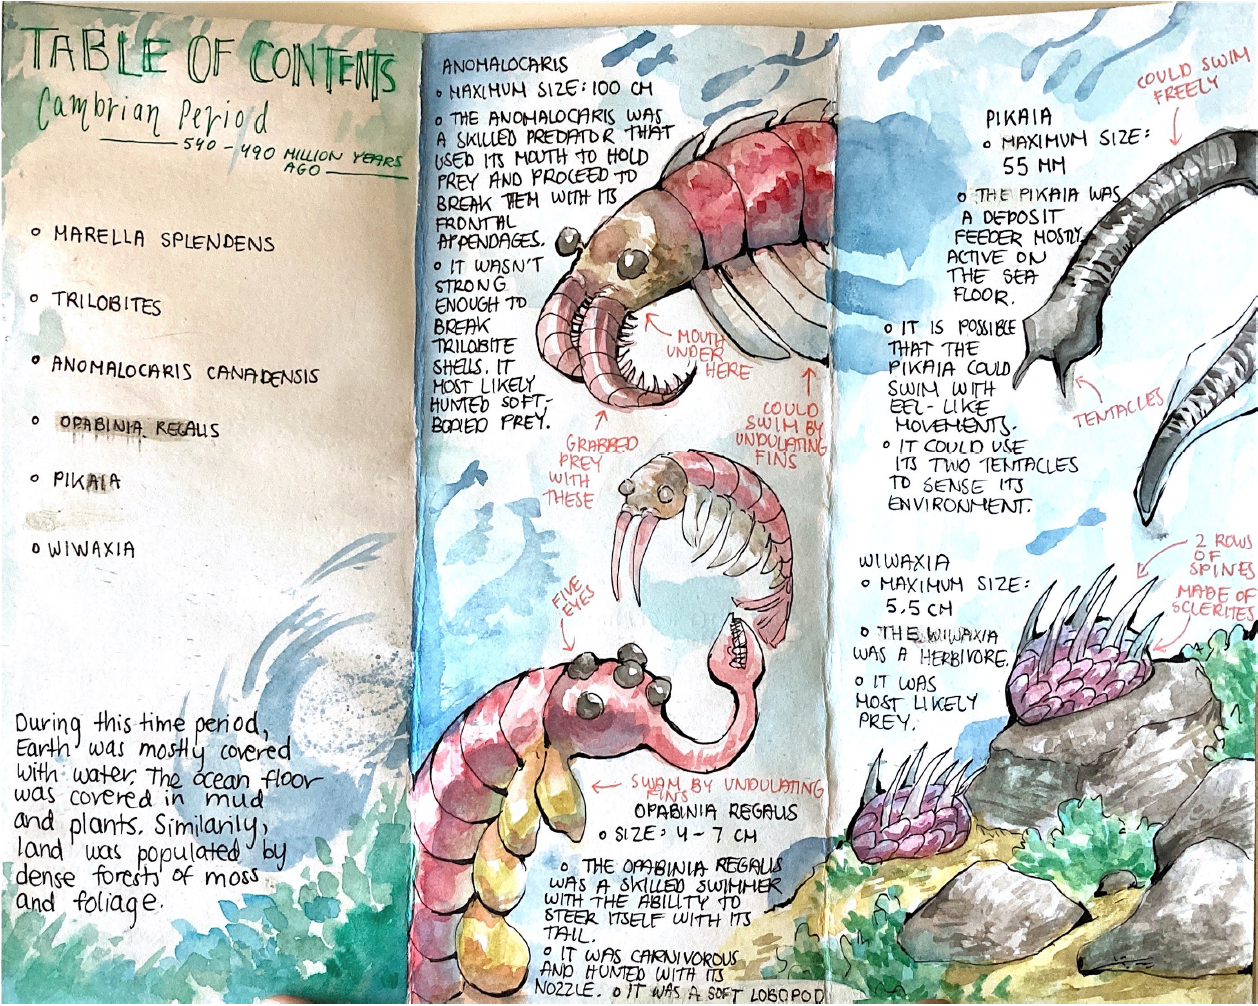
On Day 3, I show them examples from my previous students to give them an idea of how to outline and design their own brochures. Students may work at their own pace, but I do let them know that Day 4 will be the last day to work in-class before it becomes homework.
Day 5 - For the last day, I have them arrange their projects at different locations in the room. In their notebooks, they can write down gallery walk notes for each time period. I ask them to include: name, time range, 1 interesting fact, their favorite species.
As for grading, you may have them peer-grade it with the rubric or collect them and go over it at the end.
Credits: My colleagues for sharing this resource with me.
